


6 Tips and Tricks for Your Next Drywall Project
Drywall installation and repair are critical aspects of building and remodeling homes. Whether you’re a DIY enthusiast or a professional, knowing a few key tips and tricks can make your next drywall project smoother, more efficient, and yield better results.
6 Tips and Tricks for Your Next Drywall Project
Here are six valuable insights to enhance your drywall work and you may check this site www.auroracodrywall.com.
1. Select the Right Drywall Thickness
Choosing the correct thickness of drywall is essential for both the aesthetics and functionality of your walls. For most interior walls, 1/2-inch drywall is standard. However, for ceilings or walls requiring extra soundproofing or insulation, thicker options like 5/8-inch drywall are advisable. Ensure you select the appropriate thickness for your specific application to ensure optimal performance and ease of installation.
2. Use a Drywall Lift for Ceilings
When installing drywall on ceilings, a drywall lift can be a game-changer. This tool supports the drywall panel while you secure it to the ceiling joists, reducing physical strain and the risk of the panel falling or breaking. It also allows for more precise placement, ensuring that your seams line up correctly.
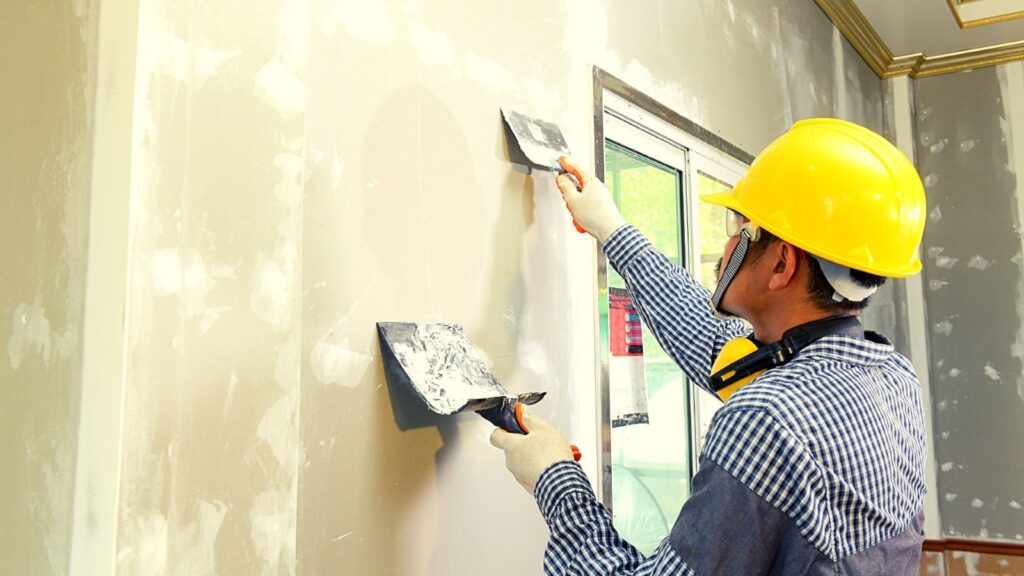
3. Apply a Skim Coat for a Smooth Finish
For a smooth, professional-looking finish, apply a skim coat over the entire wall or ceiling. This involves thinly spreading joint compound over the surface with a trowel or wide putty knife. This step can hide imperfections, create a uniform texture, and prepare the surface for painting. Allow the skim coat to dry thoroughly and then sand it smoothly before painting.
4. Use Paper Tape for Stronger Joints
While mesh tape is often used for drywall joints, paper tape provides greater strength and crack resistance, especially for joints that may experience some movement or stress. Apply a thin layer of joint compound to the seam, place the paper tape over it, and then smooth it out with a drywall knife. This will help prevent cracks and ensure a more durable finish.
5. Employ a ‘Feathering’ Technique When Sanding
When sanding joint compound, use a feathering technique to blend the compound seamlessly with the rest of the wall. This means lightly sanding the edges of the compound more than the center, creating a gradual transition that’s almost imperceptible. Remember to use fine-grit sandpaper and sand gently to avoid damaging the drywall.
6. Keep Your Workspace Clean and Organized
A clean and organized workspace is vital for efficient and high-quality drywall work. Regularly clean up dust and debris, keep your tools organized, and dispose of waste materials properly. This not only makes the job more pleasant but also reduces the risk of accidents and mistakes.
Conclusion: 6 Tips and Tricks for Your Next Drywall Project
Successful drywall projects require careful planning, the right tools and materials, and attention to detail. By selecting the correct drywall thickness, using a drywall lift for ceilings, applying a skim coat, choosing paper tape for joints, employing a feathering technique when sanding, and maintaining a clean workspace, you can achieve a professional and lasting finish. Whether you’re patching a small hole or installing drywall in a new room, these tips and tricks will help you complete your project with confidence and precision. Remember, taking your time and focusing on quality will always yield the best results in drywall work.
5 Horrible Mistakes When Installing Artificial Grass
The lush, evergreen appeal of artificial grass has made it a favorite among homeowners seeking a low-maintenance lawn solution. However, while artificial grass offers a multitude of benefits, incorrect installation can lead to a slew of problems, diminishing its advantages.

5 Horrible Mistakes When Installing Artificial Grass
Here are five grave mistakes people make during artificial grass installation Mesa and how to avoid them:
Ignoring Soil and Base Preparation
The Mistake: Neglecting the groundwork. Many assume they can simply roll out artificial grass like a carpet without adequate preparation.
The Repercussions: Inadequate preparation can lead to an uneven surface, water pooling, and reduced longevity of the turf. Furthermore, weeds might grow through, disrupting the appearance and structure of the artificial grass.
The Right Approach: Start by removing the top layer of organic matter and leveling the ground. Install a weed barrier, then layer and compact crushed stone or a mixture of sharp sand and hardcore. This ensures an even, permeable, and durable base.
Opting for Low-Quality Materials
The Mistake: Choosing artificial grass based solely on price, often leading to a purchase of inferior quality.
The Repercussions: Cheap materials may not be UV-stabilized, resulting in color fading. They may also wear out quickly, especially in high-traffic areas, leading to a lawn that looks patchy and worn in a short time.
The Right Approach: Invest in high-quality turf. Look for UV-resistant options with a good warranty. Remember, with artificial grass, you often get what you pay for.
Improper Seaming and Joining
The Mistake: Overlapping edges or misaligning seams without ensuring the grass fibers flow in the same direction.
The Repercussions: Visible seams disrupt the natural look, making it evident that the lawn is artificial. Incorrectly joined turf can also lead to sections coming apart over time.
The Right Approach: Lay the turf pieces carefully, ensuring the fibers align in the same direction. Use strong, weatherproof adhesive and joining tape to bond seams, ensuring they’re flush and without overlap.
Overlooking Drainage
The Mistake: Failing to account for water drainage, especially in regions prone to heavy rainfall.
The Repercussions: Poor drainage leads to water pooling on the surface, which can encourage mold growth and reduce the life span of the artificial grass. It also makes the lawn less usable after rain.
The Right Approach: Ensure the base has a slight gradient for water runoff. Opt for turf with a permeable backing and consider installing drainage solutions like French drains if your yard is prone to water retention.
Inadequate Edge Finishing
The Mistake: Neglecting the perimeters of the installation or using inappropriate or weak edging materials.
The Repercussions: Without proper edging, the turf can fray or pull away from the edges, leading to tripping hazards and a messy appearance. Weak edges also provide an entry point for weeds.
The Right Approach: Use robust edging materials, such as treated timber, steel, or purpose-made edging systems. Ensure they’re securely anchored and sit flush with the level of the grass to create a seamless boundary.
Conclusion: 5 Horrible Mistakes When Installing Artificial Grass
The allure of artificial grass is undeniable, but its advantages can only be fully realized with proper installation. By being cognizant of these common mistakes and actively avoiding them, homeowners can enjoy a beautiful, long-lasting, and hassle-free artificial lawn. Proper installation might require more effort upfront, but the long-term rewards in terms of aesthetics, functionality, and durability make it well worth the diligence.
Recent Comments